
Sellvia Payouts Explained: Minimums, Methods, Fees, Timing and KYC
The first time I looked at the Sellvia payout workflow with money already showing as Available, the process seemed as if it should be simple: choose a bank method and withdraw. In practice, Available is the right starting point, but it is only one part of payout readiness. Sellvia also checks the applicable minimum, subscription status, order processing status, phone verification, identity verification, and the withdrawal method you select.
Sellvia payouts start with Available Commission, not Total Earnings or the full Commission Balance. The current Help Center lists a general $100 minimum per store, while the standard U.S. Bank Transfer option has a $200 method minimum. Current Terms separately state a $100 redemption minimum for U.S. residents and $300 for residents of other countries. Bank withdrawals also require an active paid subscription, processed orders, phone verification, and identity verification. Standard and Express bank methods carry different fees and processing windows, so the live payout screen is the best final check before submitting a request.
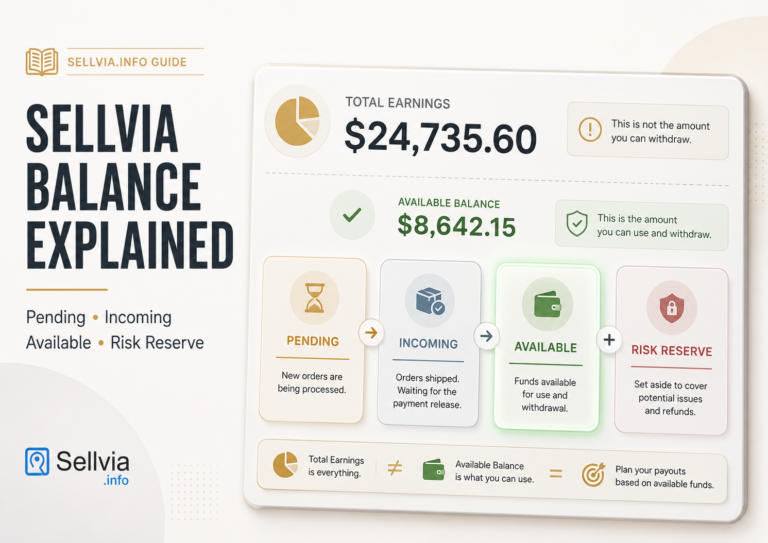
This guide focuses on that last mile: what has to happen after commission reaches Available and before a payout reaches your bank. For a full explanation of Pending, Incoming, Available, and Risk Reserve, use our separate Sellvia Balance Explained guide rather than treating this article as another balance tutorial.
The Sellvia Payout Readiness Check
The easiest way to understand payouts is to separate the requirements instead of treating the balance as a single green light. Sellvia’s current Help Center lists four core conditions for a bank withdrawal: the account needs enough Available balance for the selected method, the subscription must be active and paid, the phone number must be verified, and identity verification must be completed. Current Terms also require associated orders to be fully processed before Available Commission can be redeemed.
Order status matters here as well. An order that has not been processed remains associated with Pending Commission, so it cannot contribute to what you can redeem. If that part of the workflow is unclear, our step-by-step Sellvia order processing guide covers manual processing, Order Processing Credits, and the timing around Pending orders without repeating it here.
Most payout problems become easier to diagnose once these checks are separated. A large Commission Balance can coexist with an inactive payout button without anything being wrong: the relevant question is whether the Available portion meets the rules for the payout method your account is actually eligible to use.
Where to Request a Sellvia Payout
In the current Help Center workflow, the starting path is straightforward: My Account → Home → Request payout. From there, Sellvia asks you to choose an available withdrawal method. Phone verification is required before accessing the withdrawal page, and the identity-verification panel is part of the payout flow for accounts that still need KYC.
If you are still learning where balance, orders, reports, ads, and payout controls sit inside the interface, our Sellvia Dashboard Overview is the better place for the complete navigation map. Here, the only path that matters is the one from Available Commission to Request payout.
A Terminology Note: “Payout” vs “Commission Redemption”
Sellvia’s Help Center uses practical interface language such as balance, withdraw, earnings, and payout. The current Terms use more specific contractual wording. They describe Commission as a Sellvia-funded promotional incentive and describe a bank payout as the redemption of Available Commission, rather than settlement of customer funds.
That distinction does not make the dashboard harder to use, but it does explain why the Terms and Help Center sometimes sound as though they are describing the same workflow in two different languages. Throughout this guide, I use “payout” and “withdrawal” when discussing what the dashboard user actually does, while using “Commission redemption” when a contractual distinction matters.
Sellvia Payout Minimums: There Is More Than One Number
This is the first place where reading a single headline figure can be misleading. The current Sellvia Help Center says that Available balance is maintained per store, is not combined across stores, and has a general minimum withdrawal of $100 per store. The same payout guide separately says that the standard U.S. Bank Transfer method requires a $200 minimum.
Sellvia’s current Terms use a residency-based redemption rule instead: $100 for U.S. residents and $300 for residents of all other countries. These figures are not presented in the Terms as method-specific bank thresholds; they are contractual minimums for redeeming Available Commission.
| Requirement | Published figure | Source context | What to check in practice |
|---|---|---|---|
| General Available minimum | $100 per store | Help Center balance/payout guide | Available balance on the selected store |
| Standard U.S. Bank Transfer minimum | $200 | Help Center method guidance | Minimum shown for that method in your payout screen |
| U.S. resident redemption minimum | $100 | Current Terms of Use | Residency/account eligibility plus selected method |
| Non-U.S. resident redemption minimum | $300 | Current Terms of Use | Residency/account eligibility plus international method shown |
The safest operational reading is therefore: meet the contractual/account threshold and the selected method’s own minimum. If the live payout screen gives your account a figure that differs from a general guide, use the current on-screen requirement and confirm with Sellvia Support if you need a written clarification.
The First Bank Payout Adds Identity Verification
Sellvia’s current Help Center describes identity verification as a one-time process for store owners who have not previously withdrawn to a bank account. The platform currently uses Veriff. The published flow asks for a photo of a valid government-issued identity document — such as a passport, driver’s license, or national ID — together with a live selfie.
Once the Help Center workflow marks the account Verified, the first-payout KYC gate is normally complete. There is an important contractual nuance, though: Sellvia’s Terms reserve the right to request additional information or documentation when needed for compliance, fraud prevention, tax reporting, account security, or payout administration. In other words, “one-time KYC” describes the normal dashboard workflow; it should not be read as a promise that an account can never be asked for verification information again.
Phone verification comes first
Phone verification is separate from KYC. Sellvia states that all clients need to verify their phone number before accessing the withdrawal page. The process is a one-time SMS confirmation. If the number later changes, the Help Center currently directs users to support because the update requires manual handling.
The KYC fee is described differently in two official sources
This is one of the most useful details to know before the first payout. The Help Center currently lists identity verification at $4.99, charged once from Available balance. The current Terms instead list a $4.50 non-refundable fee for each identity-verification attempt, regardless of outcome.
Help Center: $4.99 once. Terms of Use: $4.50 per verification attempt. Because these two current official sources use different amounts and charging logic, check the amount displayed in your account before starting or repeating verification.
I would not treat that difference as a reason to avoid the process. It is simply a good example of why payout documentation benefits from a live-screen check: Sellvia’s Help Center is written as an operating guide, while the Terms are the contractual source. The verification fee is small relative to most eligible payout amounts, but knowing whether it is “once” or “per attempt” matters if a submission needs to be repeated.
Sellvia Withdrawal Methods, Fees and Timing
Sellvia currently publishes four bank-transfer options. Standard methods cost less and take longer; Express methods trade a higher fee for faster processing. For most users, that makes the choice less complicated than it first looks: pick the standard route when cost matters more, and consider Express when receiving the payout sooner has a practical value.
| Method | Published fee | Published timing | Practical fit |
|---|---|---|---|
| U.S. Bank Transfer (standard ACH) | 5% (min. $10) in Fees/Terms; Balance guide says 5% + $10 | 5–7 business days | Lower-cost U.S. withdrawal |
| Express Bank Transfer (ACH) | 14% (min. $30) | About 1 business day | Faster U.S. withdrawal |
| International Wire Transfer | 7% (min. $30) | 5–8 business days | Lower-cost international withdrawal |
| Express International Transfer | 14% (min. $50) | 1–3 business days in the Balance guide; first-payout article says ~1 business day | Faster international withdrawal |
Two details deserve attention. First, Sellvia’s dedicated Fees article and current Terms both describe the standard ACH fee as 5% (min. $10), while the Balance and Payouts guide describes the same method as 5% + $10. Second, two current Help Center pages use different timing language for Express International: one says 1–3 business days, while the first-payout guide says approximately 1 business day.
Those differences do not change the basic choice between standard and Express. They simply mean that the fee quote and timing shown in your live payout screen should be the final reference before you submit.
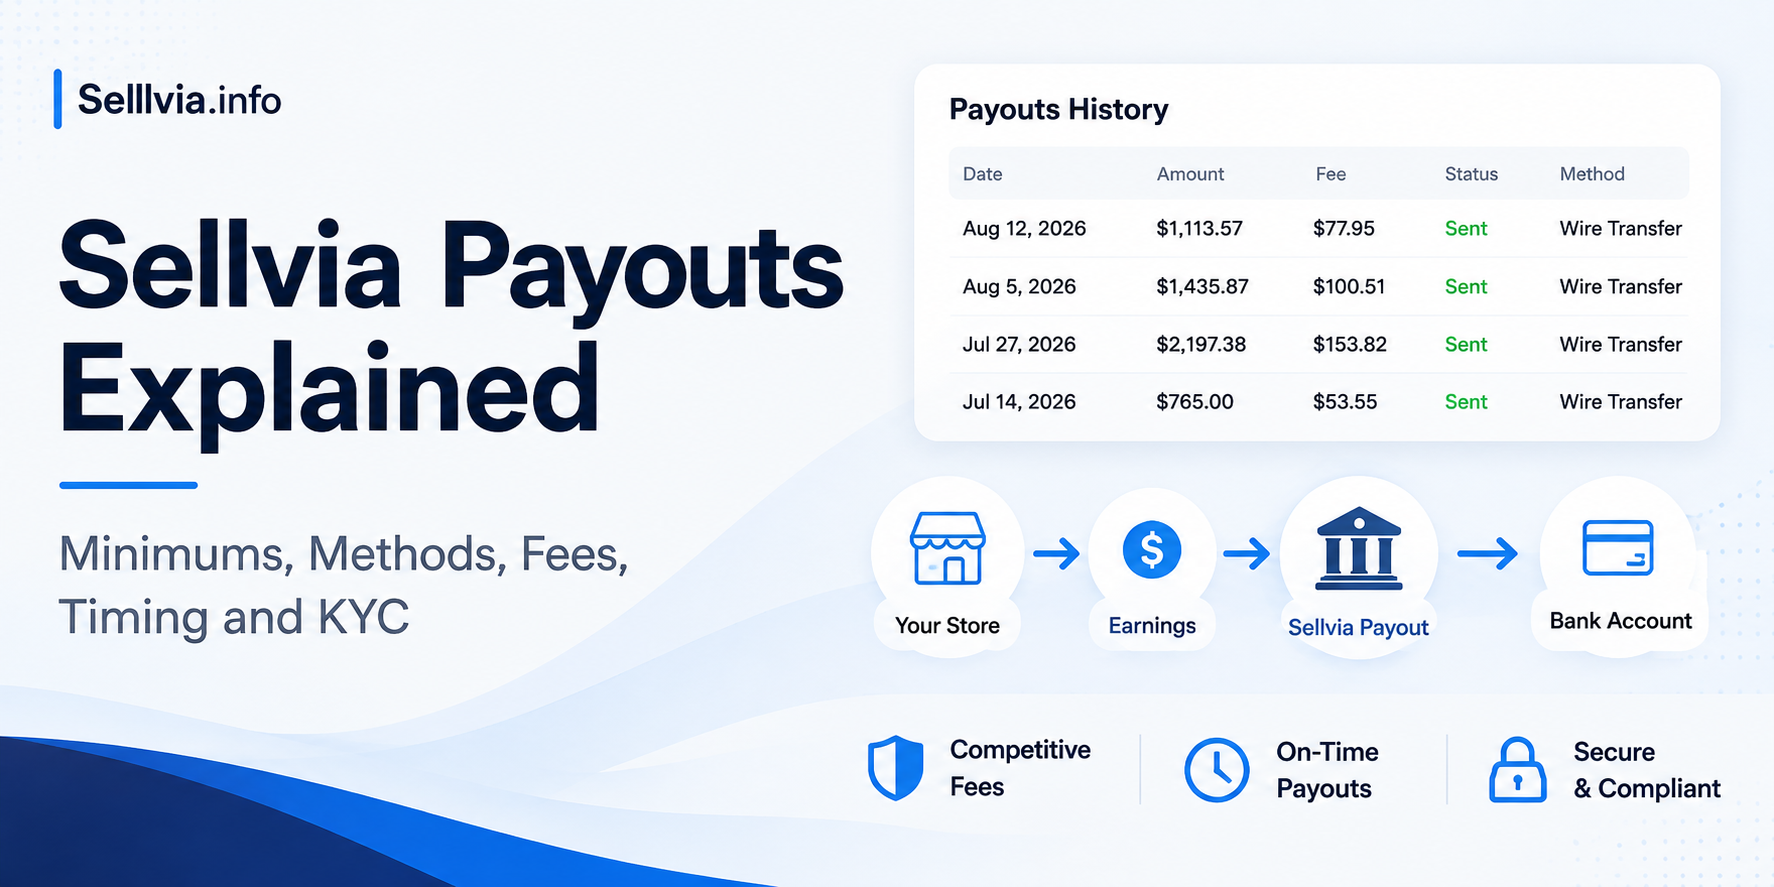
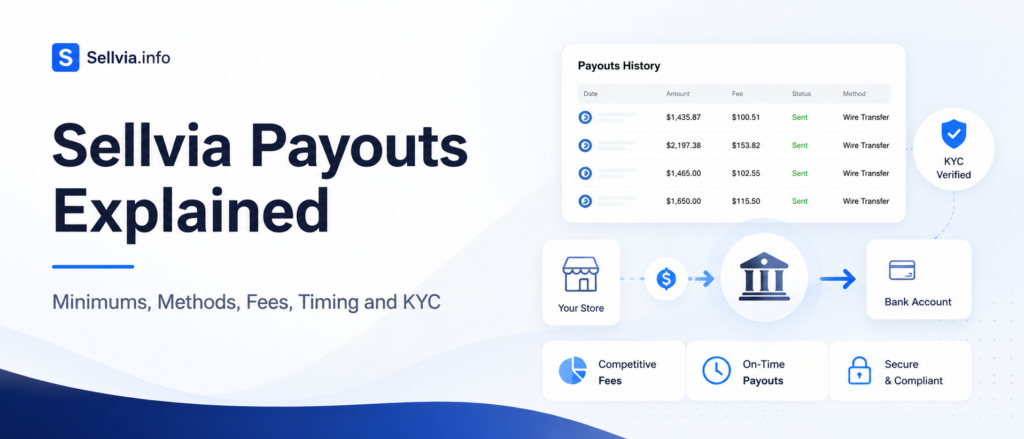
A real payout-history screen is also useful context here, because it shows that completed international-wire payouts in the dashboard reflect the same fee logic described in the official method documentation.

How Much Could a Payout Fee Reduce the Transfer?
Published percentages are easier to understand when attached to real numbers. The examples below are illustrative and assume the payout amount is eligible for the selected method. They do not include any fee charged separately by your receiving bank or an intermediary institution.
Standard U.S. ACH: two current official phrasings
Because Sellvia currently publishes two different descriptions for the standard ACH fee, it is better to show the math both ways rather than silently choose one.
| Requested | If fee is 5% (min. $10) | Net under that reading | If fee is 5% + $10 | Net under that reading |
|---|---|---|---|---|
| $200 | $10 | $190 | $20 | $180 |
| $500 | $25 | $475 | $35 | $465 |
| $1,000 | $50 | $950 | $60 | $940 |
The dedicated Fees page and Terms agree on the “5% (min. $10)” wording, while the Balance and Payouts guide uses “5% + $10.” I would therefore use the live payout quote as the deciding number rather than building a budget around either interpretation before the request screen shows the actual charge.
Express U.S. Bank Transfer: 14% (minimum $30)
| Requested | Illustrative fee | Illustrative net before bank-side charges |
|---|---|---|
| $200 | $30 minimum | $170 |
| $500 | $70 | $430 |
| $1,000 | $140 | $860 |
Standard International Wire: 7% (minimum $30)
| Requested | Illustrative fee | Illustrative net before bank-side charges |
|---|---|---|
| $300 | $30 minimum | $270 |
| $500 | $35 | $465 |
| $1,000 | $70 | $930 |
Express International: 14% (minimum $50)
| Requested | Illustrative fee | Illustrative net before bank-side charges |
|---|---|---|
| $300 | $50 minimum | $250 |
| $500 | $70 | $430 |
| $1,000 | $140 | $860 |
The identity-verification fee belongs outside these recurring payout calculations. Under the normal Help Center workflow, KYC is associated with the first bank withdrawal rather than every future payout, although the Terms allow additional verification requirements and describe the verification charge on a per-attempt basis.
Standard vs Express: What the Higher Fee Buys
The value of Express is speed. For a U.S. payout, Sellvia currently publishes roughly one business day for Express versus 5–7 business days for standard ACH. For international payouts, the standard route is listed at 5–8 business days, while Express is described as 1–3 business days in the main payout guide and approximately one business day in the first-payout article.
That makes the decision fairly practical. If there is no time-sensitive reason to receive the money sooner, the standard method preserves more of the payout. If timing matters enough to justify the difference, Express provides a clearly documented faster route. Sellvia showing both options is useful because it lets the store owner choose between cost and speed rather than forcing every payout through one schedule.
On larger payouts the percentage difference becomes more visible in dollar terms. At $1,000, a 14% Express fee is $140, compared with $70 for a 7% international wire. That does not make Express “bad”; it simply means the speed premium should be a deliberate choice rather than an automatic default.
Payout Timing Starts After Available — Not at the Sale
There are two different time systems that are easy to mix together. Before a payout can even be requested, an order has to be processed and the associated commission has to move through the balance workflow. Sellvia’s current Help Center describes a standard 72-hour Incoming stage before the normal allocation to Available. That is a balance-stage clock.
The 5–7 business days for standard U.S. ACH, 5–8 business days for standard international wire, and faster Express windows are payout-processing clocks. They begin after you submit an eligible withdrawal request. A commission amount that has already been Available for a week does not go through the 72-hour stage again when you click Request payout.
I am intentionally keeping that distinction short here because the full Pending → Incoming → Available → Risk Reserve mechanics already belong to our dedicated Sellvia balance guide. That separation keeps this page focused on withdrawal execution rather than duplicating the balance article.
First Sellvia Payout: From Available to Bank
Once the relevant amount is already in Available, the practical first-payout sequence looks like this:

- Confirm the correct store. Sellvia’s Help Center says Available balances are per store and are not combined across stores.
- Check the applicable minimum. Do not rely only on the $100 headline figure; check residency and the selected method as well.
- Confirm the subscription is active and paid. Bank withdrawals are unavailable during the free trial.
- Make sure the associated orders have been processed. Unprocessed orders remain in Pending rather than contributing to Available Commission.
- Complete phone verification if the account has not already done so.
- Complete the KYC flow through Veriff for the normal first-bank-withdrawal workflow.
- Open Request payout and choose the bank method.
- Review the live minimum, fee, and timing displayed. This is especially important for standard ACH because current official pages describe its fee differently.
- Submit the request and keep the confirmation details.
- Allow the published processing window for the method selected, plus any time your receiving bank may need after the transfer reaches it.
For someone using Sellvia for the first time, that is the entire payout workflow in the order that matters. The process has several gates, but each one is visible and checkable.
Why the Request Payout Button May Be Disabled
An inactive payout control usually points to a normal eligibility condition that still needs attention. The fastest way to troubleshoot is to check the workflow from the top rather than repeatedly clicking the same button.
| What you see | Most useful check | Next step |
|---|---|---|
| Commission Balance is high, but payout is unavailable | Look at Available, not the total Commission Balance | Wait for eligible commission to reach Available or process Pending orders |
| Available looks high enough | Method- and residency-specific minimum | Compare the live threshold for the selected method |
| Bank payout option is unavailable during onboarding | Free-trial/subscription status | Bank withdrawals open once the subscription is active and paid |
| Phone prompt appears | Phone verification status | Complete the one-time SMS verification |
| Identity Verification panel appears | KYC status | Complete Veriff with an accepted ID and live selfie |
| KYC shows Not Verified | Verification result and any on-screen instruction | Follow the account prompt or contact support before another attempt if the reason is unclear |
| Payout has been submitted | Published processing window for the chosen method | Allow the stated business-day window before escalating |
If you’re new to the platform and several of these concepts are unfamiliar at once, the Sellvia for Beginners guide provides the broader account workflow. The advantage of treating payouts separately is that you do not need to relearn the entire platform each time you want to withdraw.
What Happens if Sellvia KYC Is Not Successful?
The Help Center says an unsuccessful identity check leaves the account in a Not Verified state and keeps bank withdrawals locked until verification succeeds. Sellvia’s Terms allow another verification attempt, but they also state that each attempt is subject to the non-refundable verification fee described in the Terms.
The right response is procedural: review the status shown in the verification flow, make sure the requested identity document is valid and clearly captured, and use Sellvia Support if the reason is not clear. There is no benefit in guessing at account-specific rejection reasons, and there is no legitimate shortcut around identity verification.
It is also worth remembering that the Help Center’s normal “one-time” KYC language and the Terms’ broader compliance rights can both be true. Most users should expect the standard verification step around the first bank payout, while Sellvia retains the ability to request more information when a compliance or account-security check requires it.
Bank Payout vs Processing Credits vs Ads Credits
Sellvia currently gives Available balance three different uses, and only one of them sends money outside the platform:
- Bank payout: redeems eligible Available Commission through a bank-transfer method, subject to the applicable fee, threshold, verification, and approval rules.
- Order Processing Credits: converts Available balance into internal credits used for automated order processing. The current Help Center and Fees page list a 28% service fee on this conversion.
- Ads Credits: converts Available balance into budget for Sellvia Ads. Current Balance/Payouts, Fees, and Terms sources list a 5% fee.
These options are useful for different purposes. Bank payout is for moving eligible value outside Sellvia; Processing Credits are operational; Ads Credits are for reinvestment into traffic. Keeping those three outcomes separate makes the dashboard easier to read and prevents an internal balance transfer from being mistaken for a bank withdrawal.
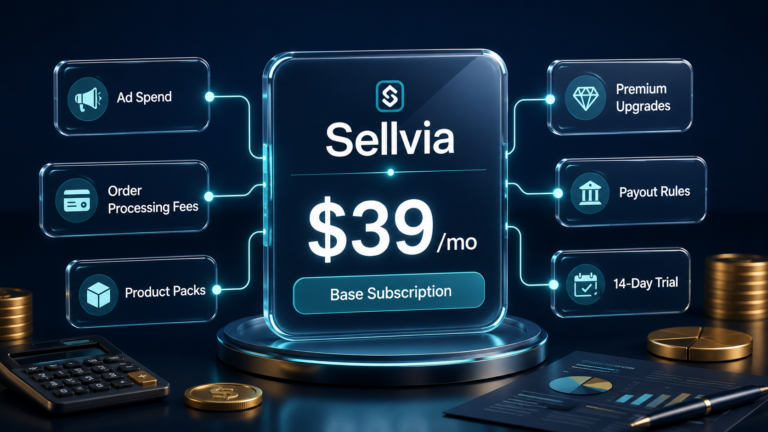
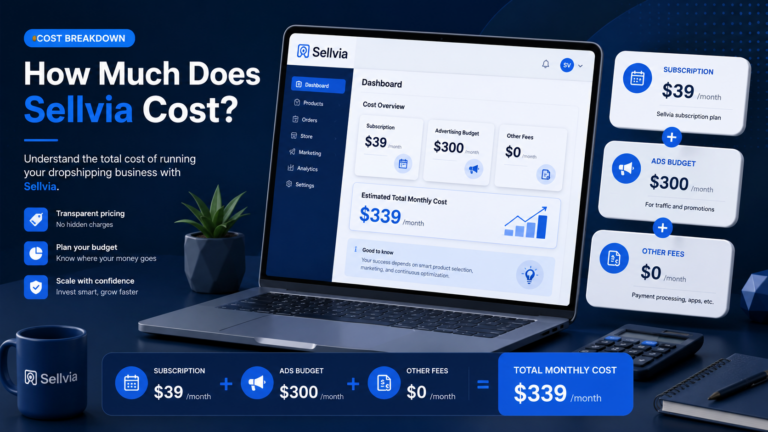
If you are trying to decide how these costs fit with the subscription rather than how a payout works mechanically, use Sellvia Pricing Explained. This article stays focused on the payout interface and redemption process.
Why Official Sellvia Pages Can Show Different Payout Details
At the time of this review, several current Sellvia sources describe the same payout workflow with slightly different figures or wording. That is worth documenting because it affects the exact amount or timing a user may expect, but it does not make the overall process unclear once you know where the differences are.
Help Center: $100 general per store and $200 for standard U.S. Bank Transfer. Terms: $100 U.S. / $300 non-U.S. redemption minimum.
Help Center: $4.99 once. Terms: $4.50 per verification attempt.
Fees + Terms: 5% (min. $10). Balance/Payouts: 5% + $10.
Balance/Payouts: 1–3 business days. First-payout guide: approximately 1 business day.
The most constructive way to use these documents is as a hierarchy of checks. The Help Center is excellent for understanding the interface and normal operating flow. The Terms define contractual eligibility and Commission redemption. The live payout screen then shows the current option actually offered to your account. When a number differs, checking all three is better than assuming one old screenshot or one isolated help article applies universally.
Before You Click Request Payout
- Correct Sellvia store selected
- Available Commission checked instead of Total Earnings or total Commission Balance
- Current account/residency minimum checked
- Selected payout method’s minimum checked
- Subscription confirmed active and paid
- Relevant orders processed
- Phone verification completed
- Identity-verification status checked
- Live fee for the selected method reviewed
- Bank details checked carefully before submission
- Published business-day processing window understood
- Payout confirmation or reference saved for your records
That checklist takes less than a minute once you know the dashboard. It also prevents most of the confusion that comes from looking only at one balance figure and expecting it to answer every payout question.
Frequently Asked Questions
What is the minimum Sellvia payout?
Sellvia’s current Help Center lists a general $100 minimum Available balance per store. It also says standard U.S. Bank Transfer requires $200. Current Terms separately state a $100 redemption minimum for U.S. residents and $300 for residents of other countries. Check both your account eligibility and the minimum shown for the method you select.
Can balances from several Sellvia stores be combined for a payout?
No according to the current Help Center. Available balance is maintained per store, and balances are not combined across stores. That means each store needs to satisfy the applicable withdrawal requirements on its own.
Why can’t I request a Sellvia payout even though I see earnings?
The amount you see may be Total Earnings or total Commission Balance rather than Available Commission. Other common gates are the selected method’s minimum, an inactive or trial subscription, unprocessed orders, phone verification, or KYC.
Does Sellvia require KYC before a payout?
The current Help Center requires identity verification through Veriff before the normal first bank withdrawal and describes it as a one-time account process. Sellvia’s Terms also allow additional verification information to be requested when needed for compliance, security, tax reporting, or payout administration.
How much does Sellvia charge for identity verification?
Two current official sources differ. The Help Center lists $4.99 charged once, while the Terms list $4.50 for each verification attempt regardless of outcome. Check the amount shown in your account before starting or repeating verification.
What are the current Sellvia payout fees?
Current Fees and Terms list standard ACH at 5% with a $10 minimum, international wire at 7% with a $30 minimum, Express ACH at 14% with a $30 minimum, and Express International at 14% with a $50 minimum. The current Balance/Payouts guide describes standard ACH differently as 5% + $10, so verify that method’s live quote before submitting.
How long does a Sellvia payout take?
Sellvia currently publishes about 1 business day for Express U.S. Bank Transfer, 5–7 business days for standard U.S. Bank Transfer, 5–8 business days for standard International Wire, and 1–3 business days for Express International in the main payout guide. A separate first-payout article describes Express International as approximately 1 business day.
Can I withdraw from Sellvia during the free trial?
No. The current Help Center says bank withdrawals are unavailable during the 14-day trial. Available balance can instead be transferred to Ads Credits or Processing Credits during that period, subject to the current conversion rules.
The Bottom Line
Sellvia’s payout system is easier to use once the requirements are treated separately. The core sequence is Available Commission + correct minimum + active paid subscription + processed orders + verification + selected payout method. From there, the main choice is whether a lower standard fee or a faster Express transfer is more useful for that particular withdrawal.
The platform provides clear standard and Express routes, while its current Help Center and Terms differ on a few exact figures. Before submitting a payout, use the live dashboard as the final operational check for your minimum, verification status, fee, and estimated timing.
This guide explains the payout workflow using Sellvia’s current public documentation reviewed in August 2026. Fees, thresholds, verification requirements, interface labels, and transfer times may change. Where current official sources use different figures, the differences are shown rather than silently resolved. Always confirm the live terms displayed for your own account before submitting a payout request.

Jeck Palmer is an ecommerce writer and platform researcher at Sellvia.info. He specializes in analyzing Sellvia’s features, pricing, tools, advertising system, order workflow, and overall business model. His articles are designed to explain complex platform processes in clear and practical language, helping beginners understand potential costs, evaluate available tools, and make more informed decisions before starting an online business.

the difference between the help center saying $4.99 once and the terms saying $4.50 per attempt for kyc is such a small thing but it’s exactly the kind of inconsistency that makes people nervous about bigger numbers
did not know balances aren’t combined across stores until reading this. kind of assumes everyone in the audience is technical enough to expect that, worth stating way earlier
the standard vs express breakdown made my decision easy honestly, saving the extra 7% on a wire transfer is worth waiting the extra few days for me
appreciate the payout readiness checklist at the end, went through it before my first withdrawal and caught that i hadn’t done phone verification yet
the distinction between balance-stage clock and payout-processing clock cleared up something i’d been confusing for weeks. two totally different timers running for different reasons
the residency based minimum, $100 for us vs $300 for everyone else, is buried way deeper in the terms than it should be for something that changes your whole withdrawal timeline if you’re outside the states
The processing fee split between Standard and Express was the thing nobody flagged in any Sellvia review I found before I started – I had to hit the live payout screen myself to see what I was actually keeping. Worth checking that before you assume the Available balance is what lands in your account.
The “Available is just the starting point” framing is the exact thing I wish someone had handed me early on – I assumed a green balance meant ready to go, well, not exactly but close enough to be confusing. The setup surprised me with how fast that first sale landed, and then I just sat there unable to withdraw because I hadn’t cleared verification yet.
the pending to incoming to available sequence finally explained why my dashboard number and my actual withdrawable balance never matched in month one
the 72 hour incoming verification window is way shorter than i expected honestly, thought it would be closer to the full reserve period based on other stuff i’d read
The hidden cost nobody prepared me for was not the $39 a month – it was the mental overhead of not understanding that Available balance and total earnings are completely different numbers. I spent more time second-guessing the dashboard than actually using the service, and that delay was the real expense. Once the workflow clicked, the $100 withdrawal minimum was honestly the easiest part of the whole process.
appreciate that this separates balance stage timing from the actual payout processing timeline, i was treating those as one single clock for way too long
the residency based minimum, $100 domestic vs $300 international, changes the whole withdrawal math if you’re outside the us and nobody explains that clearly enough elsewhere
the readiness checklist near the end caught something for me, hadn’t done phone verification yet and would’ve had a failed withdrawal attempt without checking first