Sellvia Orders Dashboard Explained: Statuses, Actions and Workflow
The Sellvia Orders dashboard is the operational view I use when I want to answer three questions quickly: what has just been purchased, which orders still need attention, and what changed after an order was processed. It sits between the customer-facing checkout and the account’s balance and commission workflow, so understanding this screen prevents a lot of unnecessary confusion.
This guide focuses only on the mechanics of the Orders area. If you need the customer-side sequence first, see Sellvia Checkout Explained. If you already know the dashboard and simply need the click-by-click processing procedure, use How to Process a Sellvia Order.
What the Orders Dashboard Is For
After a customer completes a purchase, the transaction is recorded in the Sellvia account and becomes visible in the Orders area. The dashboard is therefore not just an archive. It is the working queue where you identify orders that need action, open an individual transaction, review its details, and confirm processing where required.
Sellvia’s current digital-product documentation describes the basic sequence as customer purchase, order appearance in the dashboard, confirmation of the order, and automated delivery of the digital product or toolkit. The platform also supports an automated processing option for accounts where that feature is enabled. The exact controls available can vary by dashboard version, so I treat the labels shown in the account itself as the source of truth for a specific account.
How an Order Reaches the Dashboard
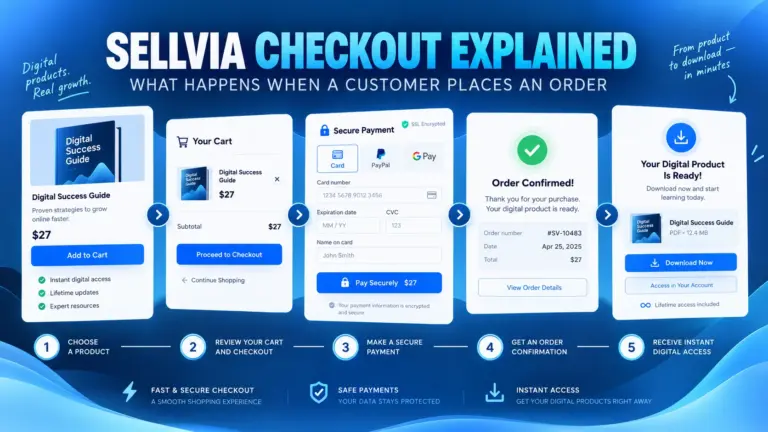
The cleanest way to understand the Orders screen is to start one step earlier. A customer visits the store, selects a digital product, completes checkout, and the order is registered against the store. At that point the seller has a transaction to manage inside Sellvia.
That distinction matters because checkout and processing are separate events. A successful customer checkout creates the order. Processing is the seller-side action that moves the transaction forward in Sellvia’s workflow. This is also why seeing an order in the dashboard does not necessarily mean every account-side step is already complete.
For a detailed look at what the buyer sees before this point, read Sellvia Product Pages Explained.
The First Thing I Check When Opening Orders
I start with the newest entries and look for anything that is still waiting for action. The practical goal is not to inspect every historical order each time. It is to separate actionable orders from transactions that have already moved forward.
For each new order, I verify the order identifier, product, customer information shown by the interface, current state, and whether a processing action is available. If the dashboard exposes additional details, I open the order before confirming it rather than treating the list row as the complete record.
This is a useful habit because the Orders screen is a workflow surface. The status and available button tell you what the system expects next. If an order already shows that it has been processed, repeating the action is neither necessary nor desirable.
Order Status Versus Commission Status
One of the easiest mistakes is to treat every status in Sellvia as if it describes the same thing. It does not. An order status describes where the transaction is in the order workflow. A commission status describes the state of the commission associated with that transaction.
Sellvia’s current Terms of Use define three commission states that are especially important when reading account activity:
- Pending Commission – commission associated with an unprocessed order.
- Incoming Commission – after the associated order is processed, the commission moves into Incoming for verification.
- Available Commission – after the Incoming verification period concludes, qualifying commission is reclassified as Available.
The current terms state that Incoming Commission can remain in that state for up to 72 hours while Sellvia verifies the activity, order completion and attribution and performs abuse or fraud checks. This means the Orders dashboard and the balance area are connected operationally, but they should not be read as one screen.
If you want the balance side in detail, see Sellvia Balance Explained. For the withdrawal workflow, use Sellvia Payouts Explained.
What ‘Pending’ Means in Practice
In the current commission terminology, Pending is associated with an order that has not yet been processed. Operationally, that tells me to return to the order itself and check whether it requires confirmation.
I do not interpret Pending as a failure. It is a state in the workflow. The important question is whether the order is legitimately awaiting the seller-side processing step or whether something else in the account requires attention.
For stores using manual confirmation, this is where the Orders queue becomes important: a new sale should not simply be noticed and forgotten. The seller needs to review the order and complete the required processing action.
What Changes When You Process an Order
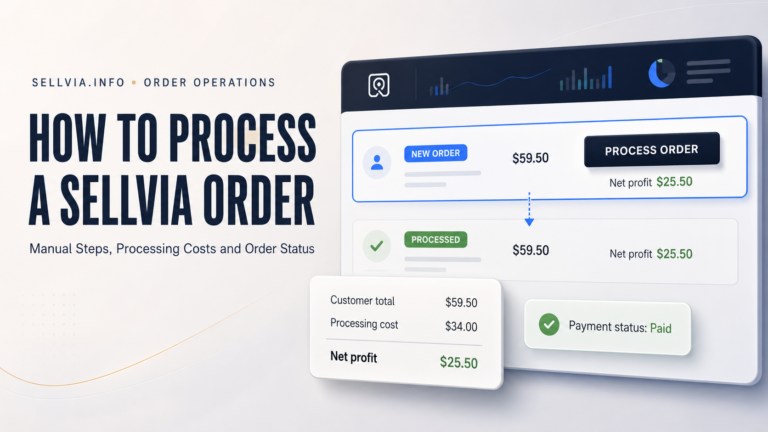
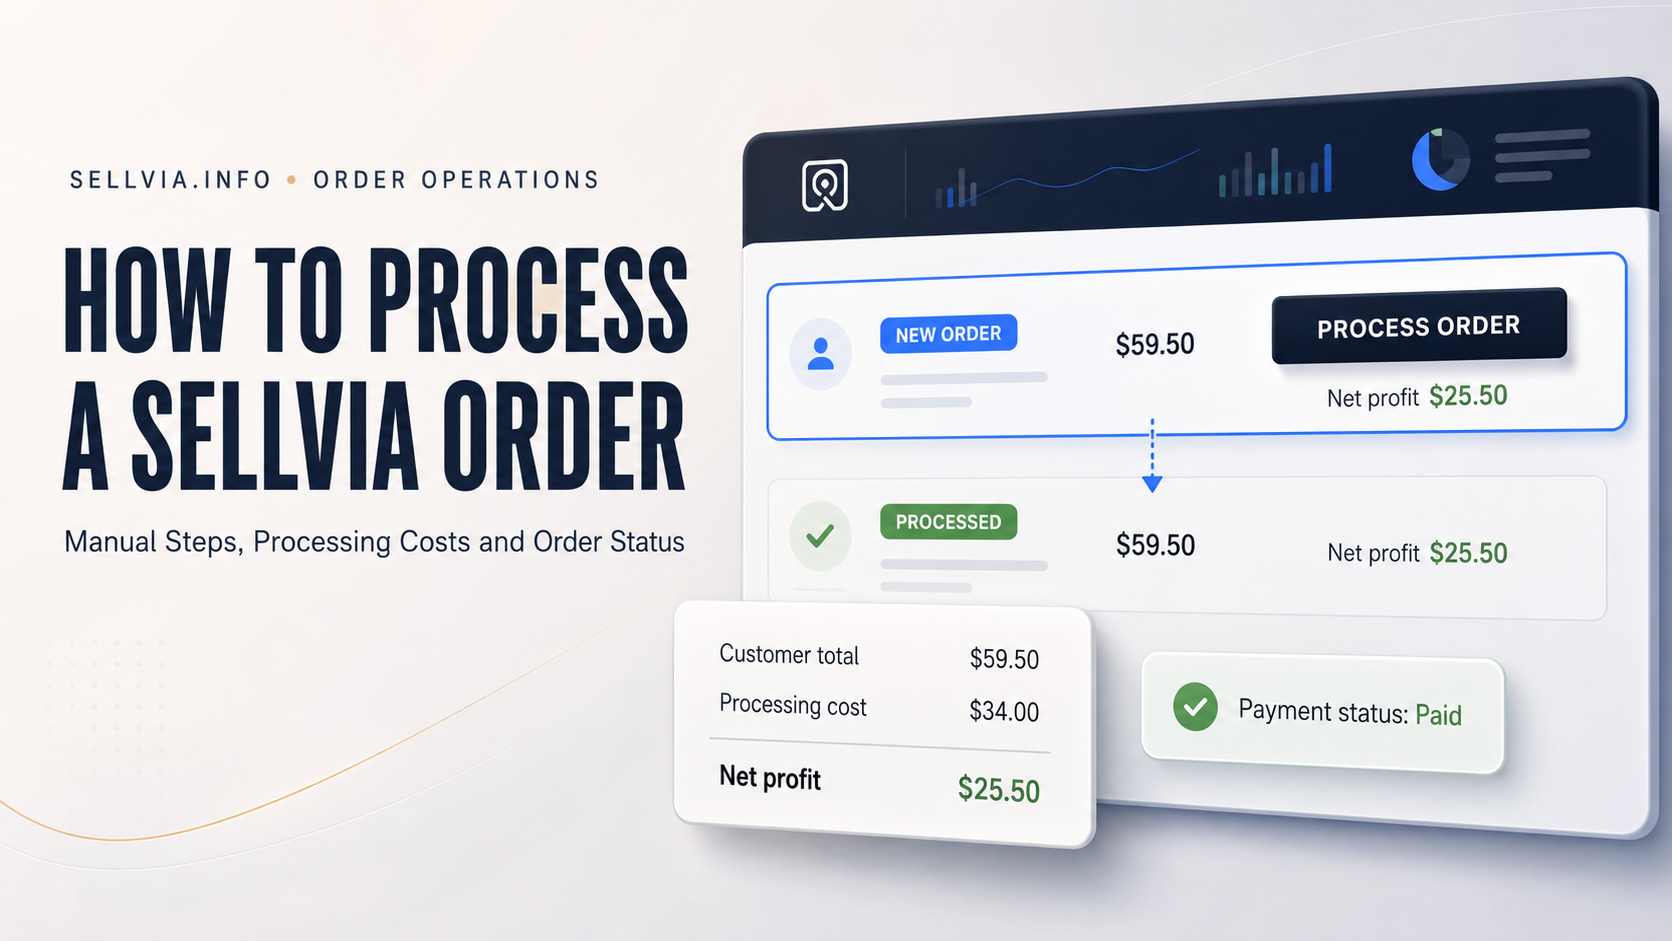
Processing is the transition point between an order that is waiting for seller action and an order that has been confirmed into the next stage of the Sellvia workflow. For the current digital-product model, Sellvia’s recent guidance describes this as a short confirmation step after which the platform handles delivery of the digital product.
On the commission side, Sellvia’s current Terms of Use say that processing moves the associated commission from Pending to Incoming. Incoming is not the same as Available: it is the verification stage that can last up to 72 hours.
This separation is useful. The Orders screen answers, ‘Did I deal with this transaction?’ The commission area answers, ‘What state is the associated commission in now?’
Manual Processing Workflow
When manual processing is enabled, my workflow is straightforward:
- Open the Sellvia dashboard and go to Orders.
- Locate the newest order that still requires action.
- Open the order and review the details displayed by Sellvia.
- Use the available processing control to confirm the order.
- Wait for the dashboard to confirm that the action completed.
- Return to the Orders list and verify that the order no longer appears as an untouched new transaction.
- Check the relevant balance or commission view separately if you need to confirm the financial state.
The important part is the verification after the click. I do not assume a button press succeeded merely because I pressed it. I wait for the interface to update, then check the order state before moving to the next transaction.
Automated Order Processing
Sellvia also describes an automated processing option. Its current AI information page says orders can be approved with a single click at no extra cost or fully automated for a fee, depending on the account and enabled services. Sellvia’s academy guidance likewise notes that accounts with the relevant deposit or automated option can move through the order flow without manual confirmation.
If automation is enabled, the Orders dashboard remains useful. Automation removes a repetitive confirmation step; it does not remove the value of checking that orders are appearing correctly and moving through the expected states.
I would still review the Orders area regularly for exceptions, unexpected states, duplicate-looking transactions, or anything that does not match recent customer activity.
What Information to Review Inside an Order
The exact fields can change as Sellvia updates its dashboard, but the review principle stays the same. Before taking an action, confirm that you are looking at the intended order and that the visible transaction details are internally consistent.
I pay particular attention to the order ID, product, customer details exposed by the interface, transaction amount, timestamp, and current state. If the interface shows a warning or a disabled action, I do not try to work around it. I use the status shown by the account and, where necessary, contact Sellvia support with the order ID and a clear description of the problem.
Why the Order ID Matters
The order ID is the cleanest reference when troubleshooting. Product names and customer names can repeat; an order identifier is intended to point to one transaction.
If I need support to investigate a transaction, I capture the order ID, current status, approximate time of the order, and the exact action that failed or appears unavailable. That is much more useful than saying only that ‘an order is stuck.’
How the Orders Dashboard Fits With Checkout
Checkout is customer-facing. Orders is seller-facing. That sounds obvious, but keeping the two views separate makes troubleshooting faster.
If a customer cannot complete payment, the issue is before the Orders workflow. If checkout completes and the order appears in Orders, the customer-facing transaction has already reached the account. If the order then remains awaiting seller action, the next step is inside the dashboard rather than on the storefront.
This is why I test the store in sequence: product page, checkout, order appearance, processing, and then the resulting account state. The individual screens make more sense when treated as one chain.
How Orders Connect to Digital Delivery
Sellvia’s current digital-product documentation states that its catalog is built around digital products and that delivery is handled electronically. In its current academy guide, Sellvia describes the order sequence as purchase, dashboard appearance, confirmation, and automated delivery of the digital product or AI toolkit.
That means the seller’s operational focus is the dashboard state rather than physical fulfillment logistics. You are checking whether the transaction was registered and whether the required processing step was completed.
For a broader explanation of how catalog access works, see Sellvia Product Catalog Explained.
Orders and the 72-Hour Commission Verification Window
After processing, do not confuse an order moving forward with commission becoming immediately Available. Under Sellvia’s current Terms of Use, the associated commission first moves into Incoming and can remain there for up to 72 hours.
That period exists for verification. So if the Orders dashboard shows that you completed the required action while the commission view still shows Incoming, those two observations are not contradictory. They describe different stages.
Only after the Incoming period concludes and the applicable checks are satisfied is the commission reclassified as Available under the terms.
Common Dashboard Situations
A new order is visible but still needs action
Open it, verify the details, and use the processing control provided by your dashboard. This is the normal manual workflow.
The order was processed but commission is still Incoming
That can be normal. The current terms allow up to 72 hours in Incoming for verification.
An order appears in the store but I cannot find the expected action
First confirm the order’s current state. Dashboard versions and enabled services can differ. Sellvia explicitly states that tools and features available to one dashboard version do not automatically apply to another. If the expected control is absent, use the interface actually assigned to your account rather than relying on an old screenshot or tutorial.
The dashboard does not update after an action
Avoid repeatedly submitting the same action. Refresh the account view, reopen the order, and confirm its current state. If it remains unclear, record the order ID and contact support.
I want to automate the queue
Check whether your account exposes Sellvia’s automated processing option and review its current terms or fee before enabling it. Availability and commercial terms can change, so the dashboard offer shown to your account is the relevant one.
Dashboard Versions Can Differ
This is especially important with Sellvia because the current Terms of Use explicitly acknowledge multiple dashboard versions. Sellvia states that access to one version does not create a right to features, subscriptions, offers or interface elements available in another version.
For that reason, I avoid treating the position or color of a button as permanent. The durable workflow is more important: identify the order, read its current state, open it, perform the action your account provides, and verify the resulting state.
A Practical Daily Orders Routine
A simple routine keeps the dashboard manageable:
- Open Orders and sort your attention toward the newest activity.
- Identify anything still waiting for processing.
- Open each actionable order and verify its details.
- Process the order through the control provided by your dashboard.
- Confirm the order state changed before leaving it.
- Review commission state separately when needed.
- Record the order ID before contacting support about any exception.
This takes less mental effort than jumping randomly between the storefront, Orders and balances. Each screen has a specific job.
What Not to Use the Orders Screen For
I would not use the Orders dashboard as a substitute for analytics, payout tracking, or storefront testing. Those are related areas, but they answer different questions.
For overall store activity and reporting, use the reporting tools and see Sellvia Reports Explained. For a map of the broader interface, see Sellvia Dashboard Overview. Keeping these intents separate also makes it easier to diagnose a problem without misreading one metric as another.
Orders Dashboard Checklist
- Confirm the transaction appears in Orders after checkout.
- Check the order ID and visible transaction details.
- Read the current order state before taking action.
- Process only orders that actually require processing.
- Verify the interface confirms the action.
- Remember that Pending, Incoming and Available describe commission states, not one universal order status.
- Allow for the stated Incoming verification window before expecting Available Commission.
- Use the order ID when escalating an exception to support.
- Follow the controls shown in your assigned dashboard version.
Final Takeaway
The Sellvia Orders dashboard is easiest to understand as an action queue rather than a financial report. A customer completes checkout, the transaction appears in Orders, and the seller either confirms the required processing step or relies on an enabled automated workflow. Processing then affects the associated commission state, which Sellvia tracks separately as Pending, Incoming and Available.
Once you keep those layers separate, the dashboard becomes much clearer: Orders tells you what happened and what needs action; the commission and balance views tell you what happened financially afterward.
If you are working through your first transaction, continue with How to Process a Sellvia Order for the dedicated processing walkthrough.

Jeck Palmer is an ecommerce writer and platform researcher at Sellvia.info. He specializes in analyzing Sellvia’s features, pricing, tools, advertising system, order workflow, and overall business model. His articles are designed to explain complex platform processes in clear and practical language, helping beginners understand potential costs, evaluate available tools, and make more informed decisions before starting an online business.