
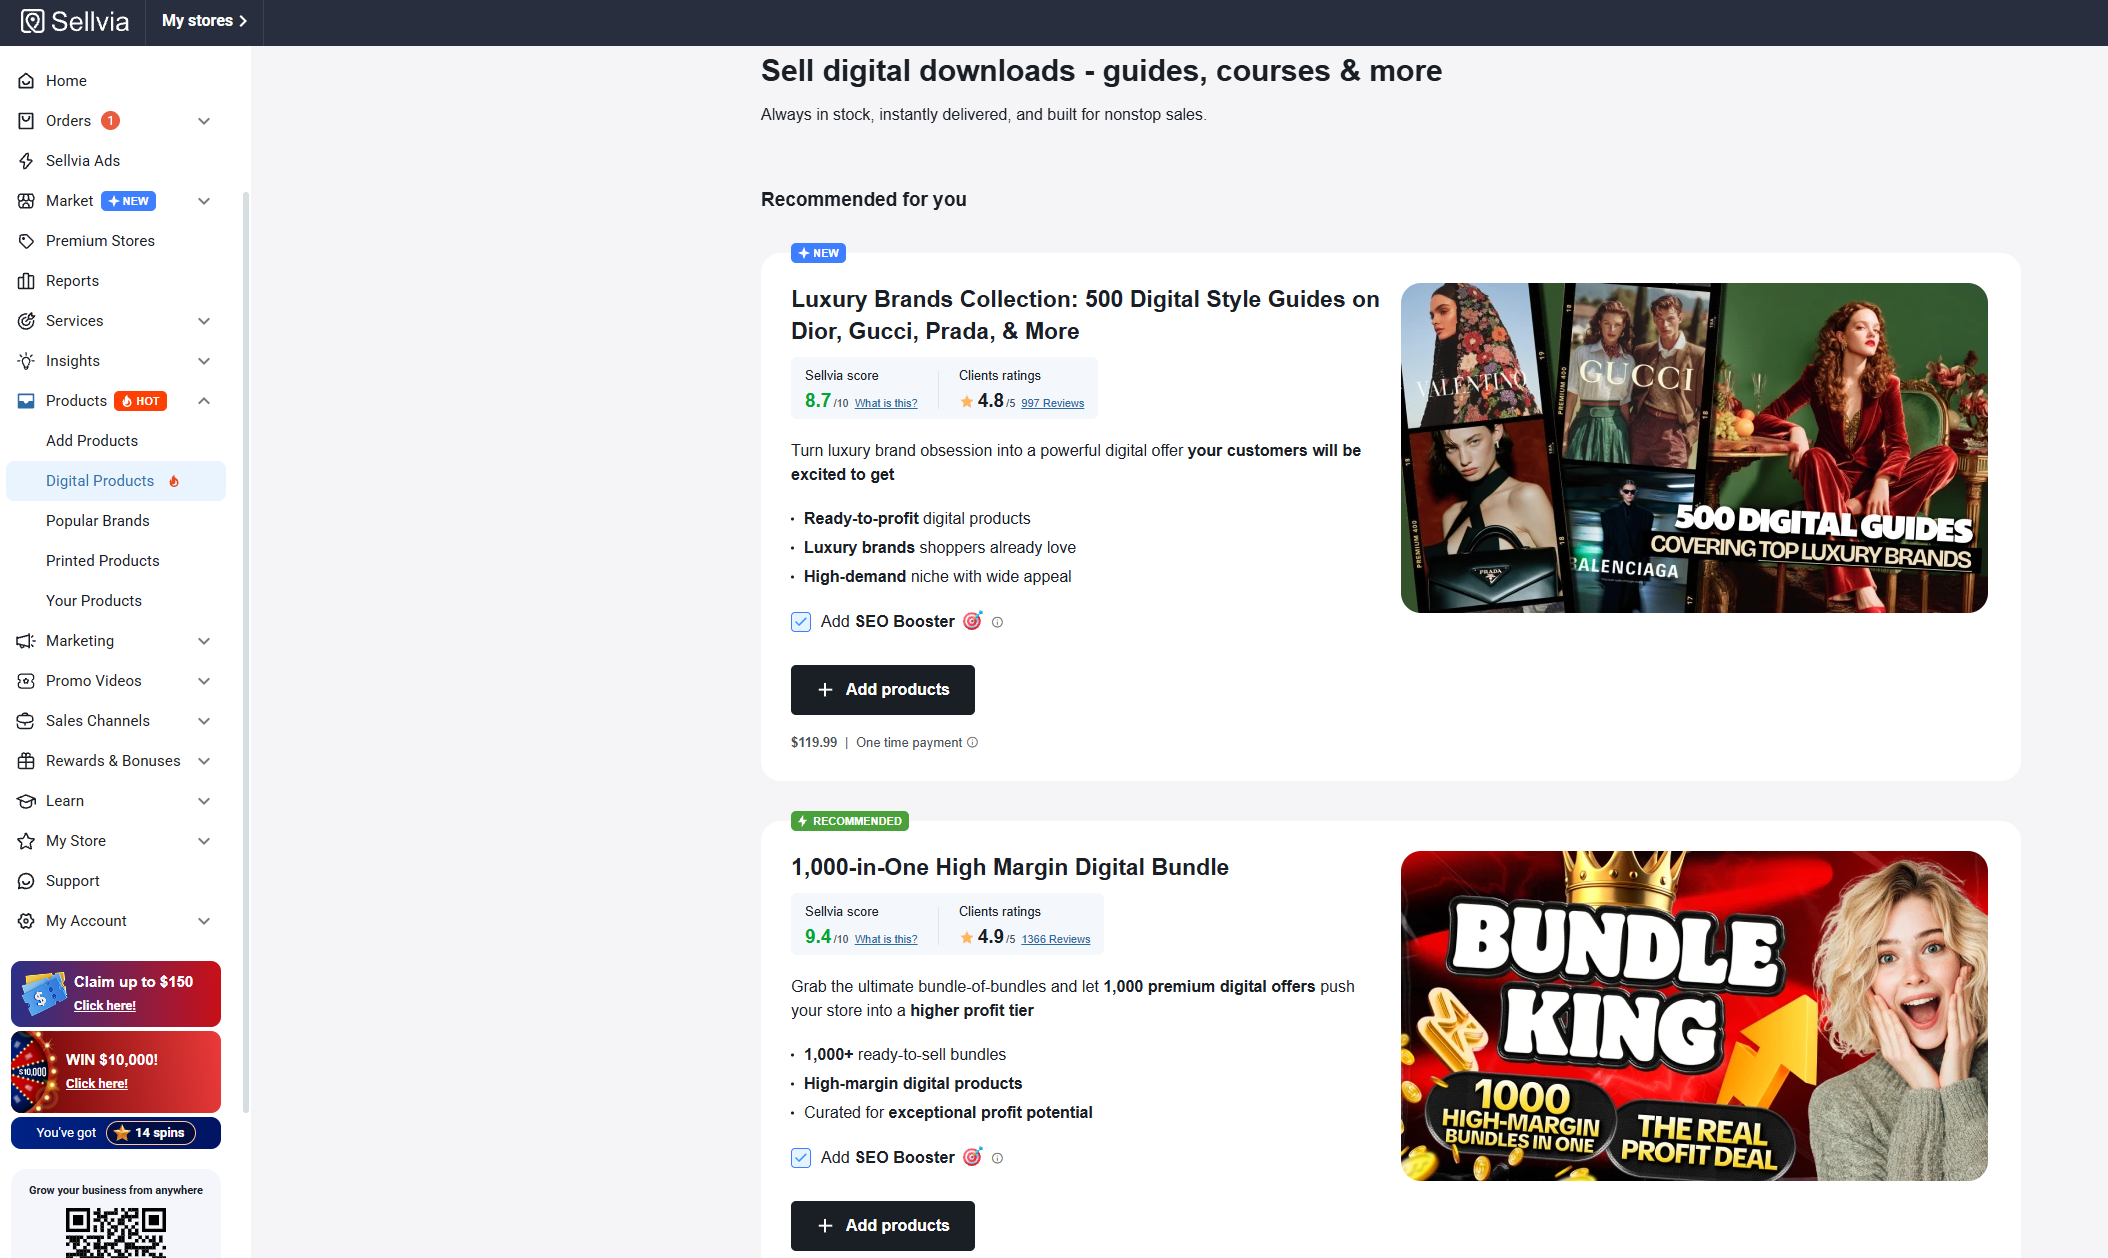
How to Add Digital Products to Your Sellvia Store
I wanted to look at one very specific part of the Sellvia workflow here: what adding more digital products actually involves once the store is already running. I checked the current product setup and the way Sellvia presents its catalog before putting this walkthrough together, and the part I like most is that expanding the store does not feel like building a product listing from zero.
The catalog is already connected to the store environment, and the products are prepared as digital offers rather than blank product records. That makes the job much more about choosing the right products for the store than doing technical setup.
Quick answer
To expand a Sellvia store, I would start in the product catalog, narrow the selection to products that fit the store, inspect the prepared listing, add the product to the store, and then open the live product page as a customer before promoting it. The useful part is that Sellvia already provides the digital product and its sales-page foundation, so there is much less manual listing work than there would be with a blank ecommerce setup.
What I checked before adding anything
The first thing I would not do is add products just because they are available. Sellvia gives access to a prepared catalog of digital products such as guides, courses, checklists, templates and other downloadable resources. The store itself already starts with products, so adding more should have a reason.
I found it more useful to treat the catalog as a library to choose from rather than a checklist to empty into the store. A focused group of related products makes the storefront easier to understand and gives you cleaner data later when you start looking at traffic and orders.
If you have not looked through the catalog yet, start with our Sellvia Product Catalog Explained guide. It covers how catalog access fits into the rest of the platform.
Step 1: Open the catalog with a store idea in mind
When I reviewed the current Sellvia product model, one advantage stood out immediately: the products are already created for selling. You are not staring at an empty product editor wondering what file to make, what cover to design or how to structure the offer.
That changes the first step. Instead of asking, “What can I upload?” I would ask, “Which of these products belongs in this store?”
For example, if the storefront already leans toward productivity, adding planners, checklists, organization guides and related tools makes sense. Adding a completely unrelated cluster just because it is available can make the store feel less deliberate.
Step 2: Choose products that strengthen the existing catalog
I use three simple checks when evaluating a product for the store:
- Audience fit: would the same person who buys the current products plausibly want this one?
- Offer fit: does it add something useful instead of duplicating an existing product?
- Store fit: will the product look natural beside the other listings when a customer browses the storefront?
This is where Sellvia’s ready-made approach is particularly convenient. Because the product already exists, most of the time can go into selection and merchandising rather than content production.
Step 3: Inspect the prepared product before adding it
I would still inspect every product individually. Ready-made does not mean every product belongs in every store.
Before adding one, I check the title, cover or main image, description, price presentation and the actual promise of the product. I want to know exactly what a customer will think they are buying.
This takes only a few minutes, but it prevents a common problem: filling a store with products that technically work while the catalog as a whole feels random.
Step 4: Add the selected product to the store
The current Sellvia approach keeps this part intentionally simple. The catalog and store are part of the same platform, so adding a catalog product is not the same process as manually creating a listing in a standalone store builder.
What I like about this workflow is that the product arrives with the core listing material already prepared. You are starting from a usable product page rather than an empty template.
The exact wording of controls can change as Sellvia updates the dashboard, so I would follow the live catalog action shown in the account rather than memorizing an old button label from a tutorial. The important workflow is stable: choose the product in the catalog, add it to the store, then verify the customer-facing result.
Step 5: Open the live product page immediately
This is the step I consider mandatory. I do not treat a successful catalog action as the end of the job. I open the actual storefront and look at the product page as if I were a customer.
I check:
- whether the title is clear;
- whether the cover looks right on desktop and mobile;
- whether the description explains the digital product properly;
- whether the price is easy to find;
- whether the call to action is obvious;
- whether the page fits visually with the rest of the store.
This is also why I like the way Sellvia connects the catalog and storefront. The administrative step is short enough that there is no excuse for skipping the customer-side check.
For a broader storefront review, see Sellvia My Store Explained.
Step 6: Think in small product groups, not isolated additions
Adding one product is easy. Building a coherent catalog takes a little more thought.
If I find one strong product, I look for two or three related products that make sense beside it. That gives the customer more relevant browsing options and makes the store feel intentional.
A simple structure could look like this:
| Main product | Related additions | Why it works |
|---|---|---|
| Weekly planner | Goal tracker, habit checklist | Same productivity audience |
| Career guide | Resume toolkit, interview checklist | Natural next-step products |
| Wellness guide | Routine planner, self-care checklist | Consistent use case |
What Sellvia removes from the process
The biggest positive difference I see in this workflow is how much preliminary product work is already handled. With a blank ecommerce store, adding a digital product can mean creating the file, designing the cover, writing the title, building the description, formatting the page and setting up delivery before there is anything to sell.
Sellvia starts much further down that road. The catalog gives you prepared products and prepared listings, while the store and order system are already connected to them. For someone who wants to spend more time choosing offers and driving traffic, that is a meaningful simplification.
What I would edit – and what I would leave alone initially
I would resist the urge to rewrite every product page immediately. If a listing is already clear, readable and consistent with the store, I would leave it alone until there is a reason to change it.
I would prioritize obvious issues first: a title that does not fit the store context, inconsistent pricing presentation, a product that belongs in a different group, or a page that looks awkward on mobile.
That approach keeps the setup fast, which is one of Sellvia’s strengths. You can always refine the catalog later after you have actual traffic data.
How I would test newly added products
After adding products, I would not judge them by personal preference alone. I would give the store enough traffic to produce useful data and then check which pages attract visits and which products produce orders.
Sellvia already has a Reports area for that job. Our Sellvia Reports Explained guide shows how I approach traffic, orders, conversion rate and revenue without mixing those numbers up.
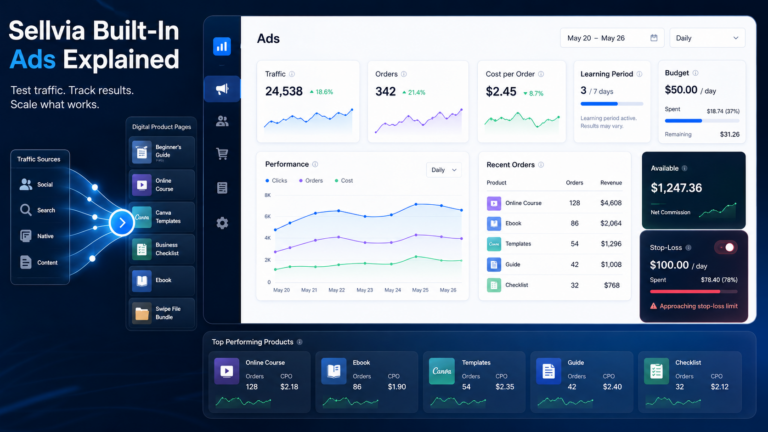
If advertising is part of the test, the Sellvia Built-In Ads Explained guide covers that side of the dashboard separately.
A practical checklist before you add a batch
- Decide which audience or topic the new products should support.
- Review the existing store so you do not add near-duplicates.
- Choose a small group of related digital products.
- Inspect each prepared listing before adding it.
- Add the selected products through the current catalog controls.
- Open every new product page on the live storefront.
- Check the pages on a phone as well as desktop.
- Make sure the new products fit the store navigation.
- Do not change everything at once without a reason.
- Use Reports later to evaluate what customers actually respond to.
FAQ
Do I need to create the digital product myself?
No. The main advantage of Sellvia’s catalog model is that the digital products are already prepared for the store. That removes the product-creation stage for catalog items.
Can I add more products after the store is launched?
Yes. The current Sellvia platform is designed around an expandable product catalog, so the initial store does not have to remain fixed.
Should I add as many products as possible?
I would not. I prefer a focused catalog where products make sense together. More listings can create more choice, but only when that choice remains relevant to the customer.
Do I need to rewrite the product description?
Not automatically. One of the useful parts of the Sellvia model is that listings come prepared. I would edit only when there is a clear reason to improve fit, clarity or consistency.
What should I do after adding a product?
Open the live product page, check the customer experience on desktop and mobile, and make sure the product fits the rest of the store. Once traffic arrives, use Reports rather than guesswork to judge performance.
Final takeaway
After going through the current Sellvia product setup, I think the strongest part of the process is how little technical work sits between finding a suitable digital product and having a usable listing in the store. The platform has already done much of the product-page groundwork.
That means the store owner’s job is mostly editorial: choose products that belong together, check the prepared listing, verify the live page and then use real store data to decide what deserves more attention.
For me, that is the right way to use the Sellvia catalog. I would not try to make the store bigger for the sake of having more products. I would use the catalog to make the store more focused, more useful and easier for a customer to browse.

Jeck Palmer is an ecommerce writer and platform researcher at Sellvia.info. He specializes in analyzing Sellvia’s features, pricing, tools, advertising system, order workflow, and overall business model. His articles are designed to explain complex platform processes in clear and practical language, helping beginners understand potential costs, evaluate available tools, and make more informed decisions before starting an online business.



the audience fit, offer fit, store fit checklist is more thoughtful than i expected from a simple product-adding guide. actually changed how i picked my last two additions
appreciate the emphasis on checking the live product page instead of trusting the catalog action alone. caught a cover image that looked wrong on mobile before it went live
the related-products table, weekly planner with goal tracker and habit checklist, is a genuinely useful template for structuring a small catalog instead of just randomly adding things
the point about not rewriting every listing immediately unless there’s a clear reason saved me from wasting a weekend improving pages that were already fine
solid reminder that ready-made doesn’t mean automatically store-appropriate. skipped adding two catalog items after actually inspecting them properly first